




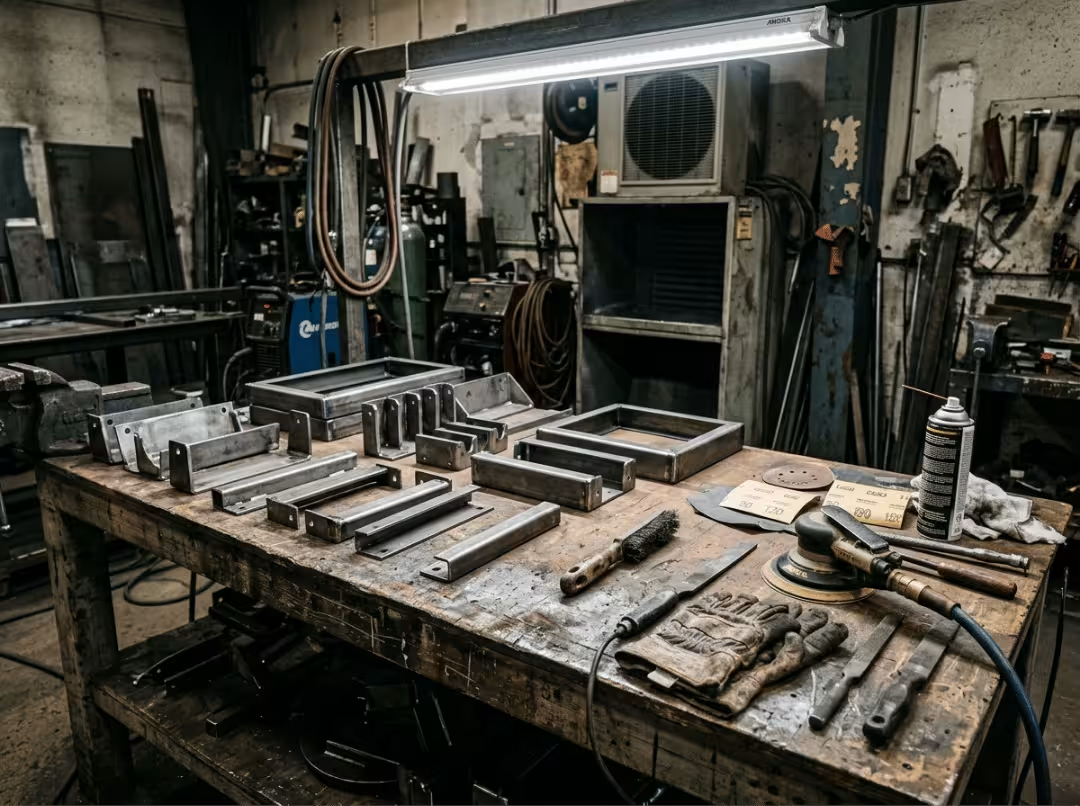
Powder coating fails at the surface, not in the oven. A flawless spray job over a dirty, rusty, or greasy part will peel, bubble, or fisheye within weeks. The coating itself is tough, but it only performs when the underlying metal is clean and sufficiently roughened to grip.
Here’s the reality most beginners underestimate: prep accounts for roughly 70 to 80 percent of the total effort in any powder coating job. Spraying and curing are the easy part. The stripping, profiling, cleaning, and pretreating are where a durable finish is won or lost.
This guide walks the full sequence from bare metal to ready-to-coat, with the real numbers, the two steps people skip most often, and the metal-by-metal adjustments that separate a lasting finish from a callback.
Why Surface Prep Determines Coating Success
Powder coating bonds two ways: mechanically, by locking into a roughened surface profile, and chemically, through a clean surface and pretreatment layer. Break either one and the coating loses its grip.
Anything trapped between the metal and the powder becomes a failure point. Oil causes fisheyes. Rust keeps corroding under the film and pushes it off. Old paint flakes, taking the new coating with it. Moisture in a crevice turns to steam in the oven, blowing pinholes through the finish.
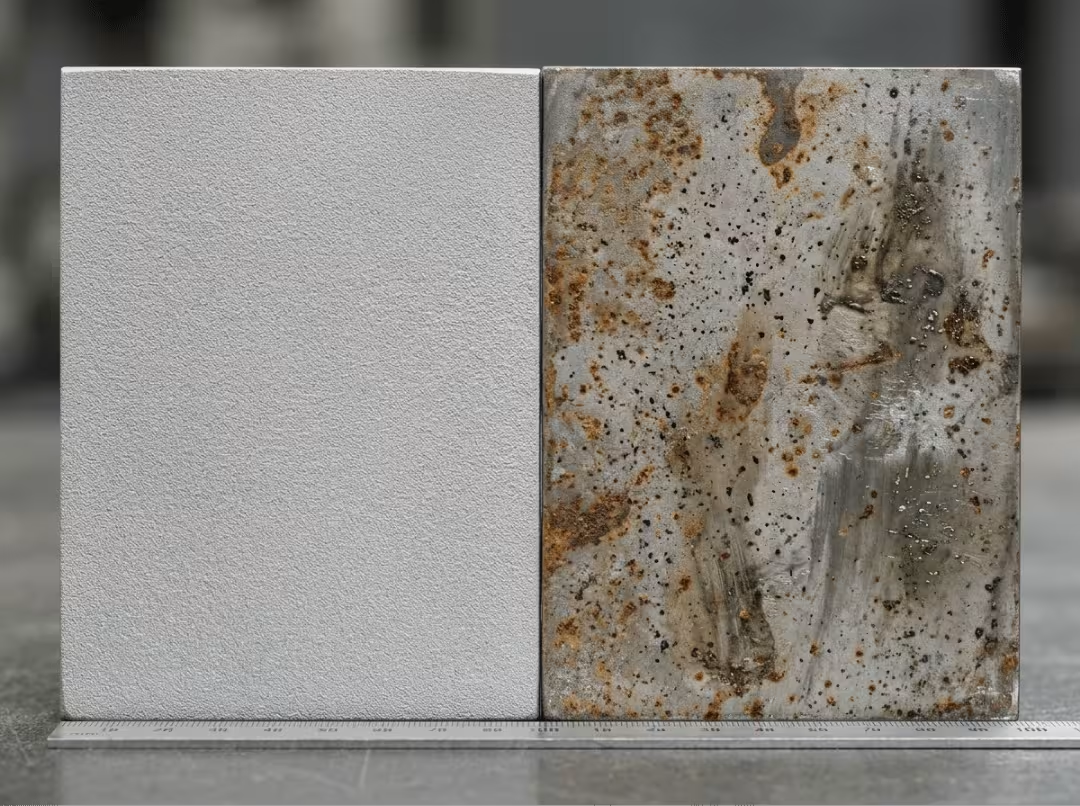
The core principle is simple: strip to bare metal, give it tooth, get it spotless, protect it, and coat it before it can recontaminate. Everything below is that sequence in detail.
Safety First: Gear and Workspace Setup
Prep produces flammable solvents, airborne dust, and harsh chemicals. Set up right before you touch a part.
Personal Protective Equipment
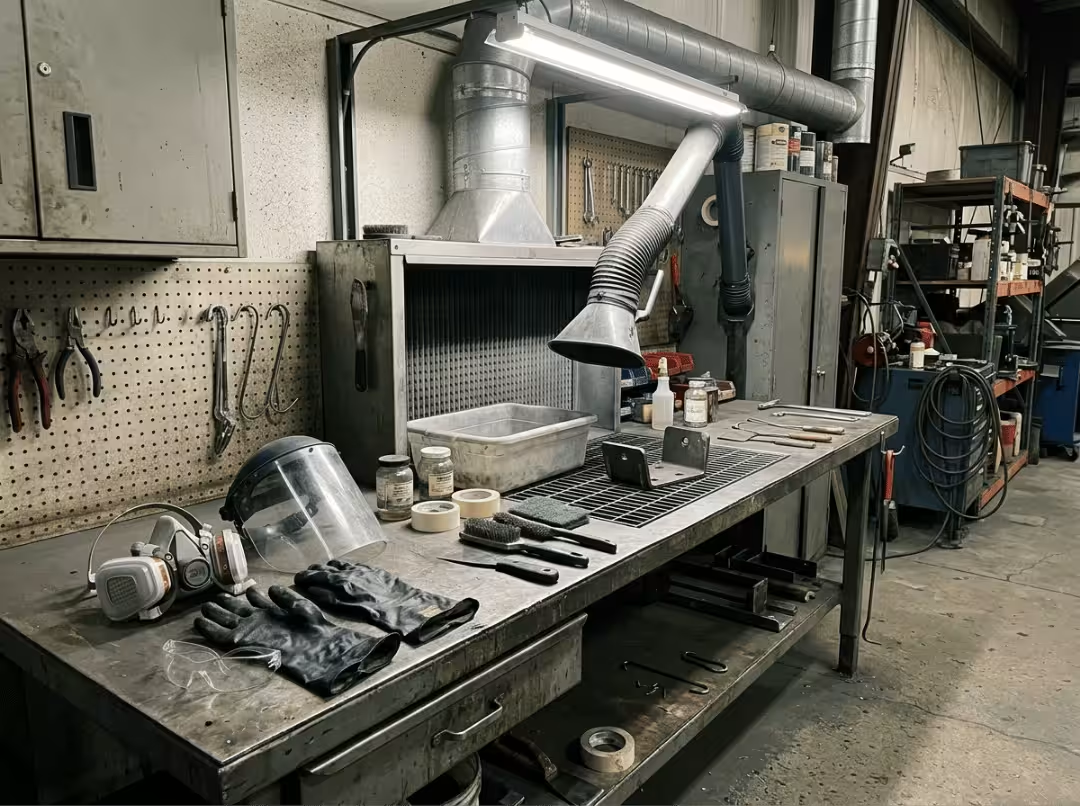
- A respirator rated for organic vapors and particulates, not a paper dust mask. Fit matters more than the cartridge rating, so check the seal every time.
- Safety glasses for sanding and a full-face shield when blasting or handling strippers.
- Chemical-resistant gloves (nitrile or better) for solvents and etchants that can burn skin.
- Long sleeves or coveralls, since chemical strippers spatter and don’t announce themselves.
Ventilation
Blasting throws off fine dust you can’t fully see, and solvents emit vapors that build up quickly in a closed shop. Work outdoors or in a booth with active exhaust. If you can smell the acetone strongly, your airflow is not good enough.
Fire Safety
Acetone and denatured alcohol are flammable. Keep them away from open flames, grinders throwing sparks, and any pilot light. Store used solvent rags in a sealed metal container, because a pile of oily rags can self-ignite. Keep an extinguisher within reach of the prep station.
Tools and Materials Checklist
Gather these before you start so you’re not stopping mid-job with a wet part flashing rust:
- Abrasive media: aluminum oxide, glass bead, garnet, or crushed glass, matched to the metal.
- Sandpaper and pads: 80-320 grit, plus non-woven abrasive pads for hand scuffing.
- Chemical strippers for parts you can’t blast.
- Degreasers and solvents: acetone, denatured alcohol, or a dedicated wax-and-grease remover.
- Pretreatment chemistry: iron or zinc phosphate for steel, a conversion coating for aluminum.
- Clean, oil-free compressed air for blowing off dust.
- Lint-free rags and clean nitrile gloves.
- Mild alkaline cleaner and clean water for rinsing.
- A heat source (usually your cure oven) for driving out moisture.
- Respirator, face shield, and chemical gloves.
The Step-by-Step Prep Process
Five stages, in order: strip, profile, degrease, pretreat, dry and handle. Skip none of them.
Step 1: Strip Old Coatings and Heavy Rust
Coatings don’t bond to coatings. Old paint, powder, and rust scale all have to come off down to bare metal.
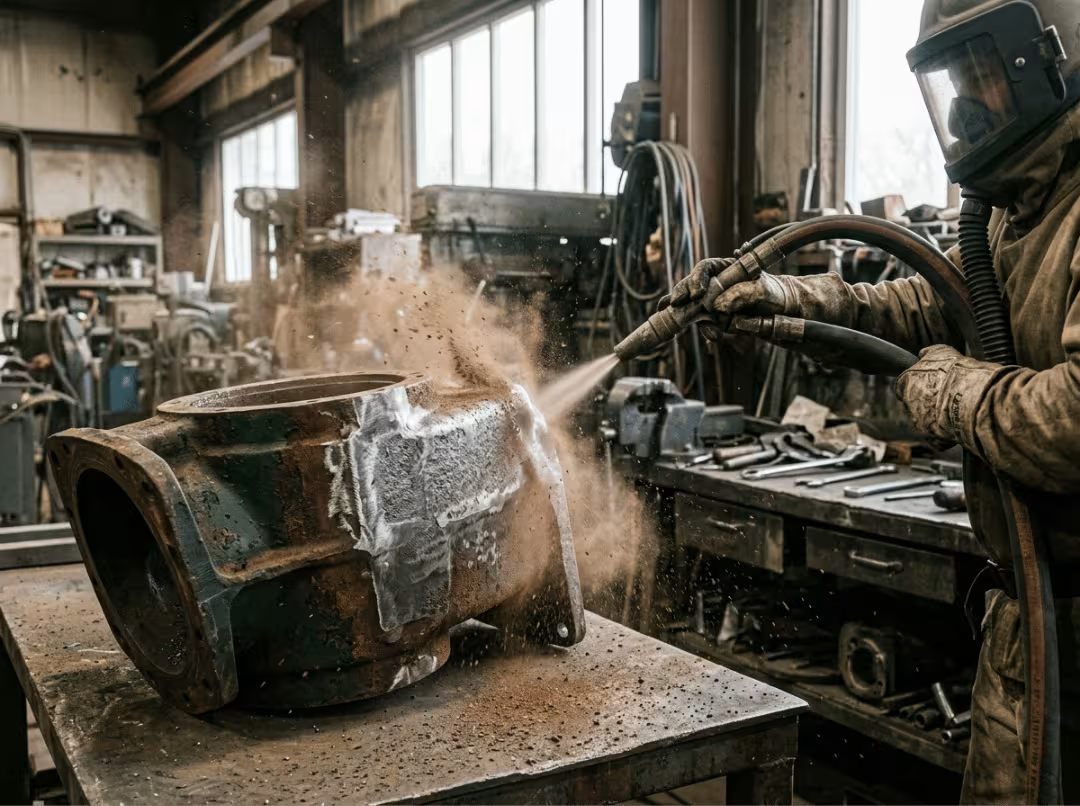
Abrasive blasting is the most reliable method for heavy rust and multiple layers. It strips and profiles in one pass. Match the media and pressure to the metal thickness so you don’t warp thin sheet.
Chemical stripping suits delicate profiles or parts too thin to blast. Apply per the label dwell time, then neutralize and rinse fully before moving on.
A combination works well for stubborn jobs: chemically strip heavy paint, then lightly blast to set the final profile.
Check your work under strong, low-angle light. Run a fingernail across the surface. Rust buried in pits will continue to corrode beneath the coating, so if pits still contain rust, keep going.
Media selection at a glance:
- Aluminum oxide cuts fast and leaves an aggressive anchor pattern. Good for heavy steel and cast iron.
- Glass bead cleans without cutting hard. Best for aluminum and thin steel.
- Garnet or crushed glass is a budget, mid-range choice for general steel.
- One rule that saves parts: never reuse media that has blasted galvanized or oily parts. It carries the contamination straight into your next job.
Step 2: Create the Right Surface Profile
Powder grips through mechanical interlock, so the metal needs tooth, not polish. A mirror finish is a bonding failure waiting to happen.
- Steel and iron: aim for a 1.5 to 2.5 mil profile.
- Aluminum: keep it lighter, around 1.5 mils, so you don’t cut through thin material.
For smooth, machined, or previously polished surfaces, scuff by hand with 80- to 120-grit sandpaper or a non-woven pad. Work in even passes; any glossy spot is a skipped spot. A correctly profiled part looks uniformly matte and feels like fine sandpaper.
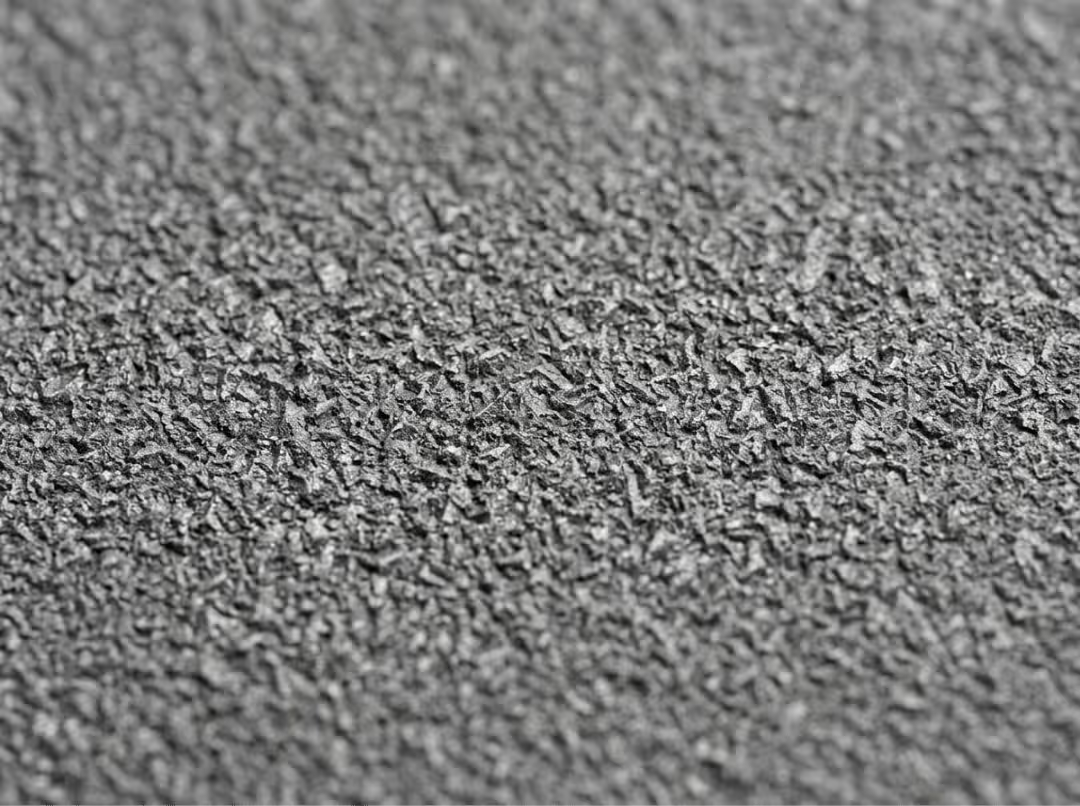
Don’t overblast thin metal. Too much media pressure warps panels and can work-harden or thin the material.
Step 3: Degrease, the Step Most People Skip
This is where good prep goes wrong. Blasting and sanding leave behind embedded dust and invisible oils from your hands and equipment. Coat over them, and you get fisheyes, cratering, and poor adhesion.
Do it in two passes:
- Wipe the whole part with acetone or a dedicated degreaser.
- Follow with a second wipe using fresh solvent and a clean rag. A rag that has already picked up oil just smears it back on.
For heavily oiled parts, such as machined components, use a proper metal degreaser or a solvent tank first. Then wash with a mild alkaline cleaner and rinse. Dish soap is not enough because it leaves a film that prevents adhesion.
Never let silicone touch the part. Silicone spray or polish causes fisheyes that no cleaning will remove.
The water-break test confirms you’re clean: wet the surface with clean water. On a truly clean part, the water sheets out into a continuous film. If it beads up, oil or residue remains. Rewash and test again before moving on.
Step 4: Pretreat for Adhesion and Corrosion Resistance
Pretreatment adds a conversion layer that improves both bonding and corrosion resistance. It’s the difference between a coating that lasts a few years outdoors and one that lasts decades.
- Iron phosphate is the standard for steel.
- Zinc phosphate gives stronger corrosion protection for demanding jobs.
- A chromate or non-chrome conversion coating is the right choice for aluminum.
Home shops replicate the factory bath line with phosphoric-acid metal-prep wipes or a dip tank. Follow the dwell time exactly. Rinse too early, and the film is weak; leave it too long, and you get a powdery residue that hurts adhesion.
Step 5: Dry, Then Handle Without Recontaminating
Water hides in seams and crevices and turns to steam in the oven, blowing pinholes through the finish. If you used a water rinse, bake the part around 200°F for a few minutes to drive out trapped moisture before coating.
From here, everything you do can undo your work:
- Put on clean nitrile gloves. Bare-hand skin oils are one of the most common causes of fisheyes.
- Handle the part by its edges, or hang it on clean hooks.
- Move it straight to the coating station.
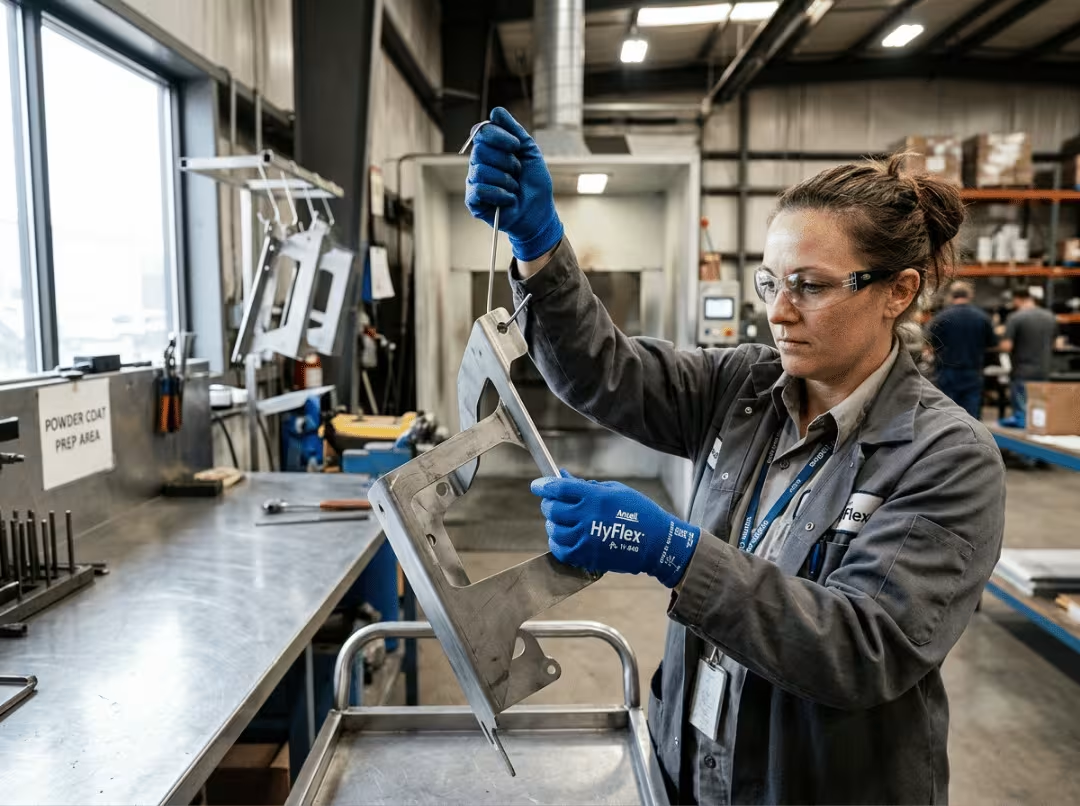
The coat-same-day rule: bare, clean steel flash-rusts within hours, and aluminum grows a fresh oxide layer within minutes. Coat prepped parts the same work session, sooner for aluminum. A part left overnight usually needs re-scuffing and re-cleaning.
Prep Differences by Metal Type
The core sequence holds, but each metal has a twist that decides whether the coating sticks.
Steel and Iron
Iron phosphate pretreatment is the standard here for both bonding and corrosion resistance. Watch for flash rust, since even a thin rust bloom after blasting can cause outgassing in the cure oven. Treat it with a rust converter or re-blast. Weld areas need extra attention, because scale and flux trap oil and moisture. For projects that start with color-coated or prepainted steel, the factory coating already provides a controlled surface, so match your prep to the base you’re actually working with.
Aluminum
Aluminum’s challenge is speed. The oxide layer reforms within minutes of cleaning, and it blocks adhesion even on a spotless surface. So the conversion coating is not optional for anything living outdoors. Use an etch primer or a non-chrome conversion coating, and coat quickly after pretreatment. Skip aggressive media that warps thin panels, and avoid caustic cleaners that pit the surface. If you’re sourcing stock for a build, confirm the alloy and temper of your aluminum sheet before prepping, since softer tempers dent and warp under heavy blasting.
Galvanized Steel
Powder coating over galvanizing is the trickiest of the three. The zinc layer often causes adhesion failure and can outgas during cure, leaving pinholes. Fresh galvanizing is worse than weathered. Clean with a mild acid wash or a zinc-specific pretreatment, and consider a light blast to open the surface. Many shops use a primer or a powder formulated for galvanized substrate. For a deeper look at how zinc coatings behave, our guide on galvanized steel and corrosion explains why the zinc layer reacts as it does.
Common Mistakes That Ruin Powder Coating
Most failures trace back to a short list of avoidable errors:
- Skipping the post-abrasive wipe. Blast dust left on the part guarantees adhesion failure. Blow it off with oil-free air, then solvent-wipe.
- Touching clean parts with bare hands. Fingerprints turn into fisheyes under the cured coat. Gloves on from the degreasing step forward.
- Coating over flash rust. It looks fine for a year, then the rust spreads under the film and lifts it.
- Using the wrong media on soft or thin metal. It warps panels and embeds grit that outgasses during cure.
- Rushing the dry step. Moisture in crevices becomes pinholes.
- Leaving sharp edges and burrs. Powder pulls thin over sharp corners and chips there first. Break the edges before coating.
Frequently Asked Questions
Do I need to sandblast every part before powder coating?
No. Blasting is the most reliable and fastest method for rust removal, but hand sanding with 80 to 120 grit works for smooth, clean parts that only need a profile. The non-negotiable part isn’t the blaster; it’s getting bare, clean, roughened metal by whatever method fits the part.
Can I powder coat over rust?
No. Powder bonds to the oxide rather than to the steel, so it bridges the rust rather than gripping the metal. The rust keeps corroding beneath the surface and pushing the coating off. Strip flash rust with a converter or blast it back to bare metal, especially inside pits where rust hides.
Is it okay to use household degreasers or isopropyl alcohol to clean metal before coating?
Household degreasers usually leave a film that blocks adhesion, so they’re a poor choice. Acetone or a dedicated wax-and-grease remover evaporates cleanly and is the safer pick. Isopropyl alcohol can work as a final wipe, but only if it’s high purity and followed by a water-break test to confirm the surface is truly clean.
How long can a prepped part sit before coating?
Coat the same work session. Bare, clean steel flash-rusts within a few hours in normal humidity, and aluminum grows a fresh oxide layer within minutes. A part left overnight almost always needs re-scuffing and re-cleaning. Pretreatment buys a little more time, but same-day coating is the reliable rule.
Why does my powder finish show pinholes or tiny bubbles?
Pinholes come from outgassing. The usual culprits are trapped moisture in seams, oil embedded during blasting, porous cast metal, or gas released by galvanizing in the oven. Fix it by drying the part thoroughly before curing, performing a proper post-abrasive solvent wipe, and using a degassing pre-bake for porous or galvanized parts.
Final Checklist Before You Spray
Run through this before the powder ever leaves the gun:
- Surface is bare metal, no rust, old coating, or grease.
- Profile is uniform and rough to the touch (1.5-2.5 mils on steel).
- Water-break test passed: water sheets; doesn’t bead.
- Part is fully dry, including seams and crevices.
- Pretreatment applied and cured per the product instructions.
- Gloves on, part handled only by edges or clean hooks.
- Sharp edges and burrs knocked down.
- Coating happening this session, not tomorrow.
Prep isn’t the glamorous part of the job, but it’s the whole game. Get every step right, and the powder coat will outlast almost anything you put it on. Cut one corner, and you’ll be chasing pinholes and peeling long after the part looked perfect coming out of the oven.
